在MEL中应用Proc
在MEL中,我们可以定义自己的proc,相当于自定义函数。定义proc的好处是可以模块化代码,增加代码的可复用性。
还以前面的创建自己的包围盒为例,换个物体,名称不叫trees,我们即必须重新修改MEL,修改物体的名称,再次执行这段MEL。但是大家不难看出,大部分MEL代码都没有改变,我们只需要改变MEL中物体的名称。
如果我们定义一个proc,并把物体的名称作为proc的参数传进去,则可以非常方便的为指定物体创建包围盒。为了今后可以为多个物体创建包围盒,我们把包围盒的名称也作为参数传进proc。
定义创建包围盒的proc如下:
/////////////////////////////////////////////////
//created by hmaya at 2006.7
//function: create bounding box for object
/////////////////////////////////////////////////
proc createMyBB(string $object_name, string $BB_name)
{
//创建一个多边形盒子,并命名为temp
polyCube -n temp;
//查询物体的包围盒大小,并将结果存储在$Volume数组中
float $Volume[]=`xform -q -ws -bb $object_name`;
//根据查询到的物体的包围盒的坐标,移动刚才新建的多边形盒子的八个点
//从而使这个盒子的顶点与物体的包围盒重合
move -a $Volume[0] $Volume[1] $Volume[5] temp.vtx[0];
move -a $Volume[3] $Volume[1] $Volume[5] temp.vtx[1];
move -a $Volume[0] $Volume[4] $Volume[5] temp.vtx[2];
move -a $Volume[3] $Volume[4] $Volume[5] temp.vtx[3];
move -a $Volume[0] $Volume[4] $Volume[2] temp.vtx[4];
move -a $Volume[3] $Volume[4] $Volume[2] temp.vtx[5];
move -a $Volume[0] $Volume[1] $Volume[2] temp.vtx[6];
move -a $Volume[3] $Volume[1] $Volume[2] temp.vtx[7];
//将包围盒重命名为$BB_name
rename temp $BB_name;
//选择自建的包围盒
select -cl;
select -r $BB_name;
}
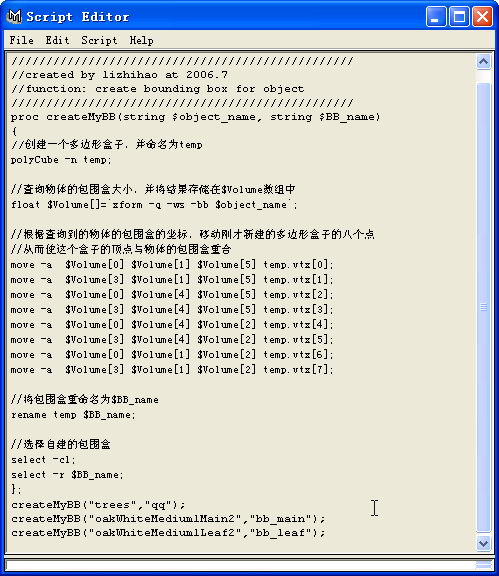
将以上MEL输入脚本编辑器并执行,然后在脚本编辑器中输入以下MEL,即可自由创建包围盒了,如图。
注意这里的trees,oakWhiteMedium1Main2,oakWhiteMedium1Leaf2都是场景中的物体名,而qqm,bb_main,bb_leaf都是自建的包围盒的名称,大家在使用自己的场景测试MEL时,可以根据情况和喜好更改这些名称。
//实例化createMyBB (proc)
createMyBB("trees","qq");
createMyBB("oakWhiteMedium1Main2","bb_main");
createMyBB("oakWhiteMedium1Leaf2","bb_leaf");

图 执行MEL
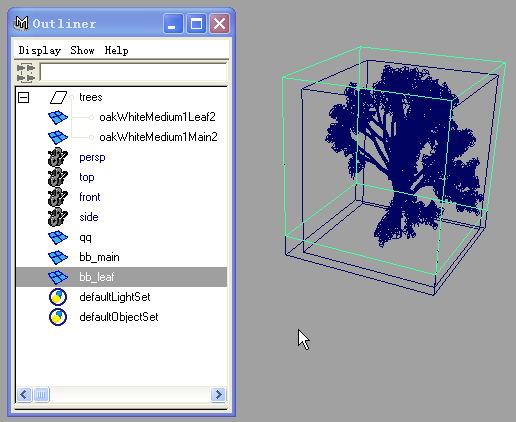
使用以上MEL得到的包围盒如图。对于场景中的任何物体,只要想为其创建包围盒,只需在命令行输入createMyBB(“XXX”, “XXX”);即可像使用MEL命令一样,迅速为指定物体创建包围盒。

图 执行以上MEL得到的包围盒
在MEL中应用Proc
看完不过瘾?点此向作者提问

赞